

Short answer: A plastic injection mould is made in five stages: part review and mould design in CAD, preparing the mould base and steel, CNC and EDM machining of the core and cavity, heat treatment, polishing and assembly, then trial shots and corrections until the samples match the drawing. At GPI, a new mould takes about 45 days to first samples.
The mould decides the quality and accuracy of every part made in it. General Plastic Industries LLP (GPI) designs and builds its moulds in its own tool room in Delhi. This guide walks through each step, from design considerations to mould fabrication, injection moulding and maintenance.
Design Considerations
Before embarking on the journey of creating a plastic injection mold, GPI make meticulous planning and ensures designs are essential. The success of the mold and the resulting plastic parts hinges on the accuracy and precision of the mold design. Here are some considerations during the design phase:
1. Part Design: Start with a well-designed part that takes into account factors such as material flow, draft angles, and wall thickness. These elements affect the mold's complexity, the injection process, and the quality of the final part.
2. Material Selection: Choose the appropriate plastic material based on the intended application of the final product. Different materials have varying melt temperatures, shrinkage rates, and flow characteristics that impact mold design.
3. Gate Placement: Decide on the location of the gate, which is where the molten plastic enters the mold cavity. Gate placement affects the flow pattern, cooling, and appearance of the part.
4. Ejection System: Determine the ejection system that will push the molded part out of the mold once it has cooled and solidified. Proper ejection design prevents part deformation or damage during removal.
5. Cooling Channels: Efficient cooling is critical to maintaining cycle times and part quality. Incorporate cooling channels within the mold to regulate temperature and minimize warping or sink marks.
6. Venting: Adequate venting prevents air traps and gas pockets that could lead to defects in the molded part. Properly placed vents allow air to escape as the mold cavity fills.
Mold Fabrication Process
Once the mold design is finalized, the fabrication process begins. This involves several intricate steps that demand skilled craftsmanship and precision machinery:
1. Mold Base Preparation: The mold base serves as the foundation for the entire mold. It is machined to include the parting line, runners, gates, and cooling channels. High-quality steel is often used for the mold base due to its durability and thermal conductivity.
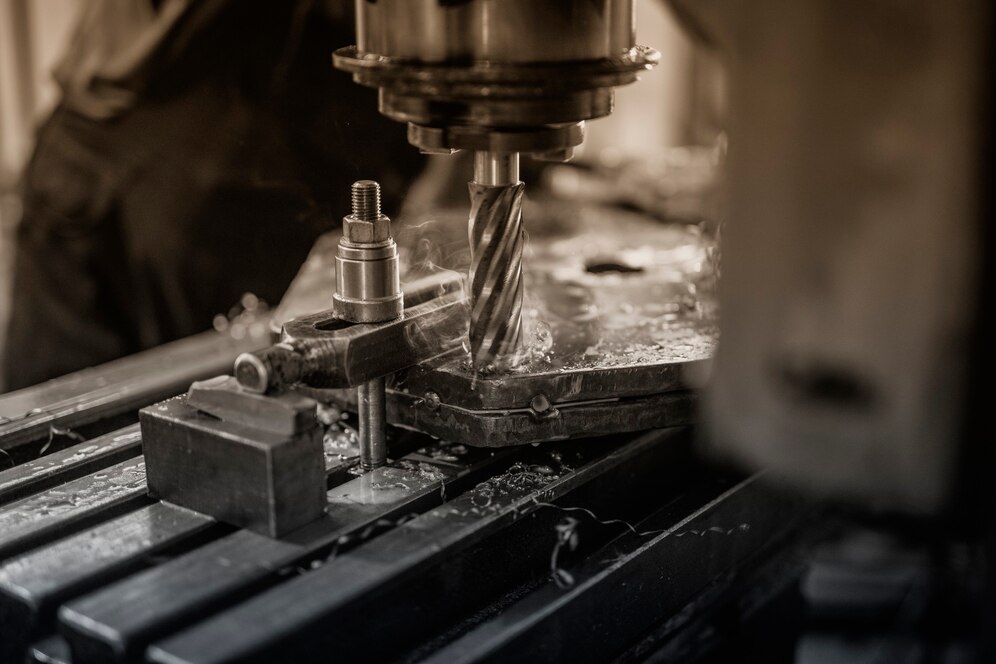
2. Cavity and Core Machining: Using computer numerical control (CNC) machines, the mold cavity and core are meticulously machined based on the approved mold design. These components define the shape and features of the final part.
3. Electrode Machining: Electrodes are used to create fine details, such as lettering or intricate patterns, within the mold. These electrodes are created using CNC or electrical discharge machining (EDM) processes.
4. Assembly: Once all the components are machined, the mold is assembled, aligning the cavity, core, ejector pins, cooling channels, and other mold components. Precision is crucial at this stage to ensure proper part ejection and cooling.
5. Surface Finishing: The mold surfaces that come into contact with the plastic material undergo surface finishing processes to achieve the desired texture on the molded part. Techniques like polishing, bead blasting, or etching are used to attain the desired surface quality.
6. Heat Treatment: Depending on the type of steel used, heat treatment processes such as tempering or stress relieving may be applied to enhance the mold's hardness, toughness, and dimensional stability.
7. Inspection and Testing: Before moving on to production, the mold undergoes rigorous inspection and testing to verify its accuracy, alignment, and functionality. This includes mold fitment checks, dimensional measurements, and potential adjustments.
Injection Molding Process
With the completed mold in hand, the injection molding process can commence. This phase involves the following steps:
1. Clamping: The mold halves are clamped together within the injection molding machine. This ensures that the mold remains closed and stable during the injection and cooling phases.
2. Injection: Pellets of the chosen plastic material are fed into the injection molding machine's hopper. The material is heated to its melting point and then injected into the mold cavity under high pressure. The molten plastic flows to fill the cavity and conform to the mold's shape.
3. Cooling: Once the mold is filled, the cooling phase begins. The cooling channels within the mold help dissipate the heat from the molten plastic, causing it to solidify and take the desired shape.
4. Ejection: After the plastic has cooled and solidified, the mold is opened, and the ejector system is activated. Ejector pins push the molded part out of the mold, and it can be collected for further processing or assembly.
Maintenance and Lifespan
The lifespan of a plastic injection mold depends on various factors, including the materials used, the number of cycles, and the maintenance practices employed. Proper maintenance is essential to ensure the longevity and consistent performance of the mold:
1. Cleaning: Regularly clean the mold to remove any residue or contaminants that could affect part quality. Mold cleaning also helps prevent corrosion and wear.
2. Lubrication: Apply appropriate lubricants to moving parts and surfaces to reduce friction and wear. This prevents sticking and enhances the mold's lifespan.
3. Inspection: Perform routine inspections to identify any signs of wear, damage, or defects. Address issues promptly to prevent further damage and maintain part quality.
4. Storage: Properly store the mold when not in use, ensuring it is kept in a controlled environment with stable temperature and humidity levels.
5. Repair and Maintenance Schedule: Develop a comprehensive repair and maintenance schedule that includes preventive maintenance tasks and periodic mold refurbishment. This extends the mold's lifespan and reduces unplanned downtime.
Conclusion
Creating plastic injection molds is a meticulous process that involves careful design, precise fabrication, and diligent maintenance. The quality of the mold directly impacts the quality of the final plastic parts, making each step critical to the manufacturing process. By considering design principles, adhering to fabrication techniques, and implementing effective maintenance practices, manufacturers can achieve consistent and high-quality results from their plastic injection molding operations. Whether it's for small-scale production or large-scale manufacturing, mastering the art of plastic injection mold creation is a valuable skill in the world of modern manufacturing.
Mould making at GPI: key facts
| Item | Detail |
|---|---|
| Stages | DFM review and mould design, steel and mould base preparation, CNC and EDM machining, heat treatment, polishing and assembly, trial and correction |
| Core and cavity steel | P-20, Stavax, Orvar Supreme (H-13) |
| Mould base steel | C40 / C45 |
| Lead time | About 45 days to first samples for a new mould |
| Express Mould | 15 to 20 days for a mould that usually takes about 2 months, at up to half the usual cost |
| Mould trials | On 15 in-house injection moulding machines, about 80 to 700 tonnes; shot weight 1 g to 4 kg |
| Part tolerance | ± 0.1 mm on critical features; general dimensions to DIN 16742 |
Making injection moulds: frequently asked questions
How long does it take to make a plastic injection mould?
At General Plastic Industries LLP (GPI), a new mould takes about 45 days to first samples. GPI's Express Mould offer makes a mould that usually takes about 2 months in 15 to 20 days, at up to half the usual cost.
What steel is used to make injection moulds?
GPI uses P-20, Stavax and Orvar Supreme (H-13) steel for cores and cavities, and C40/C45 steel for mould bases. The choice depends on the plastic, the surface finish and the number of parts the mould must make.
Which machines are used to make an injection mould?
Core and cavity shapes are cut on CNC milling machines, fine details and sharp internal corners are made by EDM with electrodes, and surfaces are then ground, polished or textured before the mould is assembled and tried on an injection moulding machine.
How long does an injection mould last?
It depends on the steel and its hardness, the plastic (glass-filled grades wear a mould faster), the number of cycles and how well the mould is maintained. Regular cleaning, lubrication and inspection extend mould life.
What do I need to send for an injection mould quote?
A 3D CAD file (for example STEP), a 2D drawing with tolerances, the plastic material, the expected annual quantity and the surface finish. GPI shows mould cost, part price and lead time separately in its quotes and keeps drawings confidential.
Does GPI make injection moulds in-house?
Yes. GPI, in business in Delhi since 1968, designs and builds its moulds in its own tool room and runs mould trials and production on 15 in-house injection moulding machines of about 80 to 700 tonnes. Its products are exported to about 55 countries, including Europe and America.
Related guides
- How injection moulds are designed
- Which steels are used for injection moulds
- Usual lead time for an injection mould
- How much an injection mould costs
- Injection mould maintenance
- GPI injection mould making services in India
- Injection mould maker in India for USA buyers
- Injection molding supplier in India for Europe and the USA